Are you a just starting out on your food photography journey and looking to invest in some equipment, but you're not sure what to choose? Then read on, my friend! This post will help you determine what photography equipment you need and some recommendations based on my own gear.

When you're first starting out with food photography, your phone camera might well do the job if you're just posting snaps to Instagram.
But, when you want to level up the quality of your work, you'll want to invest in some photography equipment to improve the quality of your work as well as make your workflow more efficient.
If you've tried searching for a professional camera on Google, you probably felt quite intimidated by all the options available. Not to mention other gear you see people using on their behind the scenes video clips on social media, like tripods and backdrops.
I felt overwhelmed with all the options too when I first realised that I wanted to upgrade my food photography equipment!
That's why I put together this blog post - to help you figure out what gear you need as a food photographer and make some suggestions for brands and models based on the equipment I use myself when shooting at home for personal and client work.
Questions around what equipment I use is also one of the most frequently asked questions I get on social media, so I thought it'd be a good idea to put all the details together in one place!
Food photography equipment for beginners
Camera
The first thing you're likely wanting to upgrade is your camera. Choosing your first professional camera is a very personal choice and there is no right or wrong answer since all cameras essentially have the same functions required in order to take brilliant photos.
Brands like Canon, Nikon and Sony are probably the most well-known camera manufacturers and the quality of their cameras is excellent. Choose any of these and you'll have a great tool in your hands!
One thing to consider when choosing a camera is whether you want a full-frame camera or crop-sensor camera.
What is the difference between full-frame and crop sensor cameras?
A full-frame camera is one that has a sensor the size of a 35mm film camera (24mm x 36mm).
A crop sensor camera has a sensor that is smaller than the standard 35mm size, which introduces a crop factor to the photos these cameras take. This means that the edges of your photo will be cropped for a tighter field of view.
So, if you take a photo of the same subject with the focal length with both of these types of camera, the image from the crop sensor camera will appear to have a smaller frame, or fit less of the scene within the frame, compared with the image taken with the full-frame camera.
The quality of the images taken with both types of camera are very good, though full-frame cameras will produce higher quality images than those of a crop-sensor camera when analysed closely.
Crop sensor cameras tend to be cheaper than full-frame cameras, so your budget may play a part in which type of camera you choose.
Ok, the next thing you will need to consider is whether you want a DSLR or a mirrorless camera.
What is the difference between DSLR and mirrorless cameras?
The term DSLR stands for Digital Single Lens Reflex. This mechanism works by the light entering the camera and hitting a mirror inside that is angled at 45 degrees. The light is reflected up into the viewfinder, allowing you to see what the lens is pointed at with no digital processing in the middle.
When you’re ready to take a shot, the mirror moves out of the way to reveal the image sensor and you'll hear a noise as this happens (the shutter click).
Mirrorless cameras, as their name suggests, don’t have a mirror. Instead, the light passes through the lens and straight onto the sensor to be processed. It’s then displayed either on the screen on the back of the camera, or in the electronic viewfinder, which is basically a very small monitor. This time, when you take a picture, the camera is simply recording what is on the sensor at that moment in time.
There is an ongoing debate about which is better, a DLSR or mirrorless camera and both have their pros and cons. These advantages and disadvantages would take up an entire blog post by themselves, so I won't go into detail here! However, I recommend you do some research of your own to see which you prefer.
I shoot with...
A Canon EOS 700D, which is a DSLR crop sensor camera.
I bought this camera in 2017 when I first started my food photography journey and continue to create high quality images with it for both personal and client work. It's a good camera for beginners, though I don't think it's available anymore on the Canon website. The new model they link to is the Canon 850D, which is slightly cheaper on Amazon.com.
Lenses
For me, the lenses you choose are more important than the camera body.
Lenses have a few different features that will greatly impact the kinds of images you can take.
Focal length
The first of those is focal length. Focal length refers to the distance between the lens and the image sensor when the main subject is in focus. It is usually shown in millimetres (e.g., 35mm, 50mm, or 24-70mm).
You can get zoom lenses, which have a focal range that you can adjust when shooting, such as the 24-70mm. Or you can get a prime lens, which is a fixed focal length, such as 50mm.
Aperture
The second feature is the aperture, or "f-stop", capabilities of the lens. Aperture refers to the hole inside the lens which determines how much light will enter the camera and hit the sensor when taking a photograph. This function will also determine how much of the scene will be in focus in the final image (known as depth of field).
Prime lenses tend to have smaller apertures than zoom lenses, meaning you can let more light into the camera and create a shallower depth of field (a creative technique often used in food photography).
However, since the focal length of a prime lens is fixed, you will have to move the camera if you want to get closer or further away from your subject.
Common lenses for food photography include:
- 35mm for flatlays and wider table scenes
- 50mm for food portraiture
- 80mm or 100mm for macro and close-ups
Again, there is no right or wrong answer when it comes to the lens you shoot with.
If you're unsure about which camera body and lens to choose, you can look for a photography rental shop in your area. This way, you can rent equipment for a few days at a time and figure out what you like best before you buy!
My lenses
I have two lenses that I use for food photography.
One is the Canon EF 50mm f/1.4 which I use most of the time! I also have a clear UV filter for it that protects the lens from scratches.
The other is a Canon EF 17-40mm f/4 with a clear UV filter to protect it. I use this lens for flatlays and tablescapes, as well as interiors when shooting at restaurants and cafes. This is an unusual choice for a food photographer! Normally you can make do with a zoom lens or a 35mm prime lens for wider scenes, but I love to offer interior photography to restaurants, and also use it for travel and landscapes when I'm out and about.
Need more help?
My online food photography course is designed for beginners and has a module dedicated to food photography equipment as well as how to confidently shoot on manual mode! With video lessons and practical assignments, you'll be able to put the theory into practice immediately.
Tripod
A tripod is a very helpful piece of kit for a food photographer! It will keep your camera stable during a shoot, meaning there is little to no risk of blurry photos if you have set your focus point correctly.
When you shoot handheld (without a tripod) there is a chance that your hands will shake a little bit, causing the photos to be blurry if your shutter speed is too slow.
A tripod will also streamline your styling and composition process because the camera stays in a fixed position and you can prepare your scene whilst looking at the live view on-screen or take images as you go, making adjustments to your subject in the moment.
Finally, a tripod will also save you from back pain! When I first started food photography I didn't have a tripod and was constantly leaning over my scene to look through the viewfinder, making little changes to the composition and then leaning over again. In the course of a 2 hour shoot, my back was so sore! Now, with a tripod, I barely have that problem any more.
My tripod
I have been using my Vanguard Alta Pro 263AB tripod since 2020 and I absolutely love it!
It has a ball head, meaning the camera can easily be rotated into landscape and portrait orientation and positioned at any angle.
It also has a multi-angle column, meaning I can use it to shoot flatlays with ease.
I use this tripod at home all the time and also take it with me for on-location client shoots, it's definitely a good option if you're looking to invest in one!
Tethering
Tethering is when you connect your camera to your computer via a cable, enabling you to see what the camera is seeing on a larger screen and controlling the settings remotely.
Benefits of tethering include:
- improved styling and composition because you can see what's in frame on a bigger screen and make adjustments more quickly
- ability to use composition overlays to help guide where and how to position your elements based on a specific composition technique
- ability to shoot remotely if you are far away from your camera or need to include yourself in the frame
- a more efficient workflow because you can import images directly into your editing software and edit on the go
- happy clients because you can show them exactly what the images you're capturing look like during a shoot
You will need a tether cable to connect your camera to your computer and possibly install piece of software depending on the camera manufacturer you have.
My tethering tools
I have a tether cable from Tether Tools, which is a company that specialises in tethering equipment.
On their website, they will help you find the cable that is compatible with your camera, tell you which software you need to use and how to set up your workstation.
Since I shoot with a Canon camera, I installed a free software called Canon EOS Utility to see my camera's live view, shoot remotely and import images into Lightroom.
Diffusers and bounce boards
To create beautiful photos of food and drinks you will need some tools to help you shape the light to get the exact style you want. These tools are known as light modifiers.
Diffusers are very handy tools to soften light and reduce contrast. They are made with translucent white material that lets some light through, but doesn't block it completely. On very bright or sunny days you can place a diffuser between your light source and your subject to soften the light and reduce the intensity of shadows.
Diffusers come in many different shapes and sizes. Most will also fold down into small bags that are easy to store and take with you on shoots.
Another light modifier that is helpful in food photography is a bounce board. Bounce boards are used to reflect light back into the scene to either brighten parts of the image or darken and intensify shadows.
Bounce boards also come in different shapes and sizes, and will also come with different colours on them such as black, white, gold and silver sides. The black side is used to intensify shadows, the white side to brighten the image, the gold side brightens and adds warmth whereas the silver side brightens and adds cooler tones.
My diffuser and bounce board
I use a 60x90 cm diffuser from a brand called Neewer. For me, this is a good size for what I'm shooting at home and it fits in my backpack when I need to take it with me on location shoots.
I also use white bed sheets occasionally! When I need another (or bigger) diffuser, hanging bedsheets or any neutral coloured, thin material in front of the window will work in exactly the same way to diffuse light.
As for bounce boards, I have a 3-in-1 foldable board from Selens. When folded it is A4 size, making it ideal for transporting and it has black, white and silver sides.
When I need something bigger, I simply use cardboard boxes or white paper. You can also get white polystyrene or foam core from hardware shops that can be leaned against your shooting table to serve the same purpose and reflect light into your scene!
Backdrops and props
Finally, everyone's favourite food photography equipment to talk about and invest in is backdrops and props.
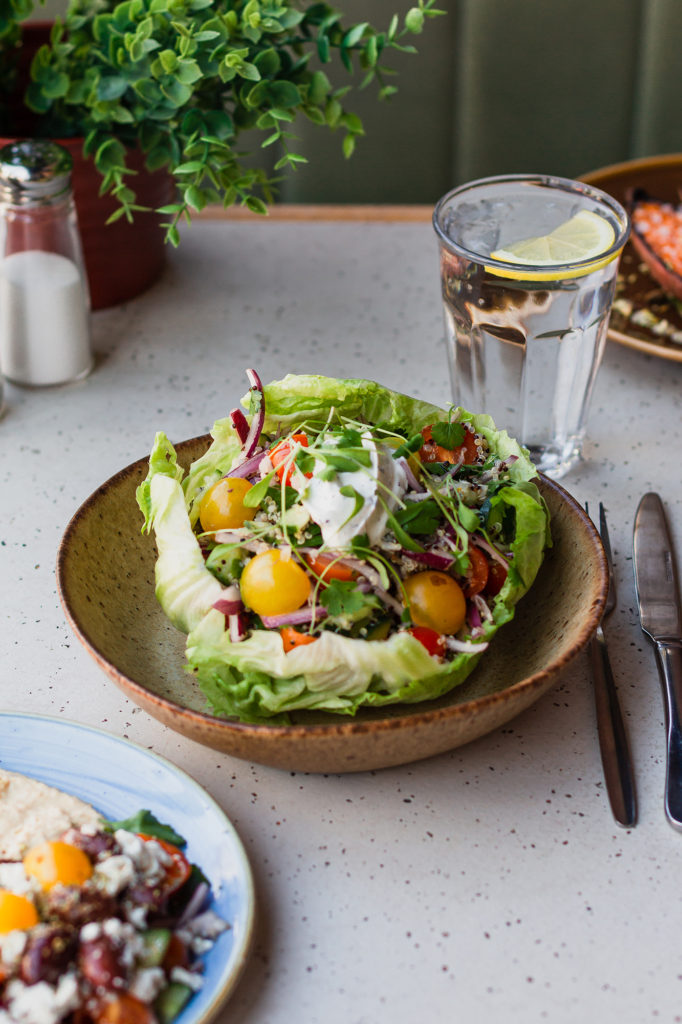
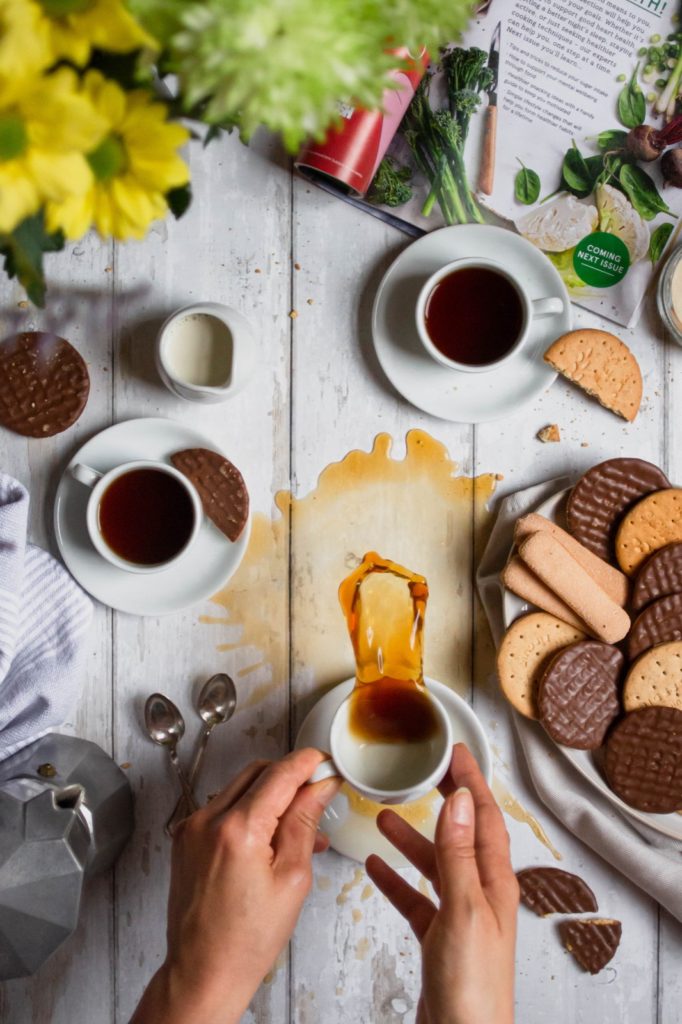
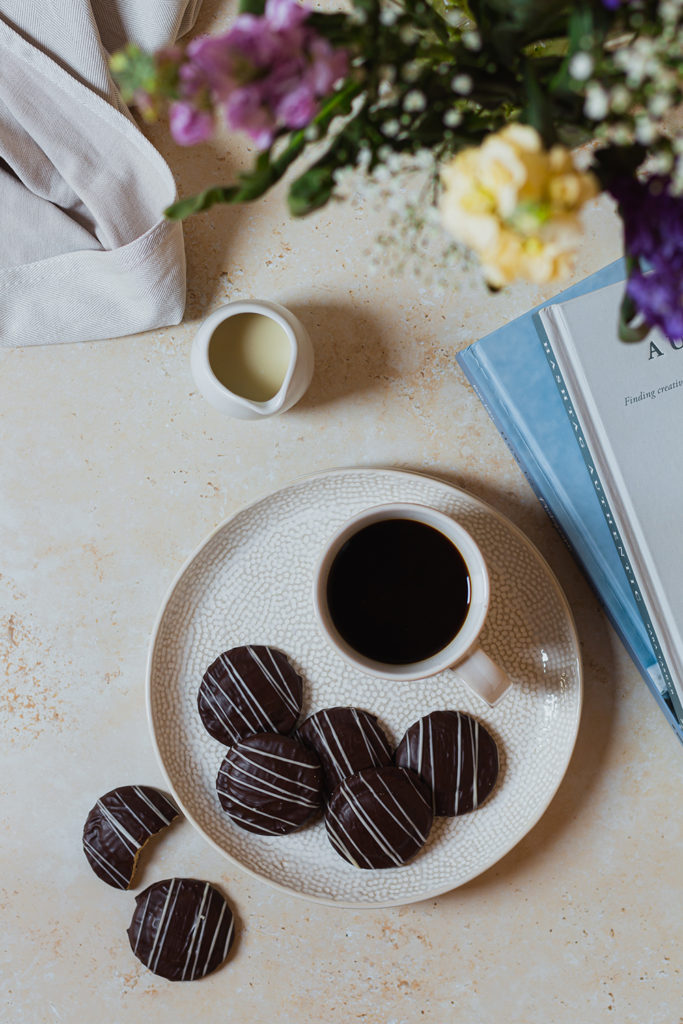
The surfaces you shoot on and the plates, glassware and other objects you choose to include in your scene all contribute to the overall story and mood of your image.
There are tonnes of things you can use in your food photos without spending any money to begin with:
- tabletops, tablecloths, linens and napkins
- baking trays, newspapers, books
- existing crockery and cutlery in your home
- plants and flowers
- borrow items from your family and friends (grandma will have some amazing vintage items!)
However, if you do want to invest in specific items for your food photography then there is a vast amount to choose from in stores and online.
My backdrops
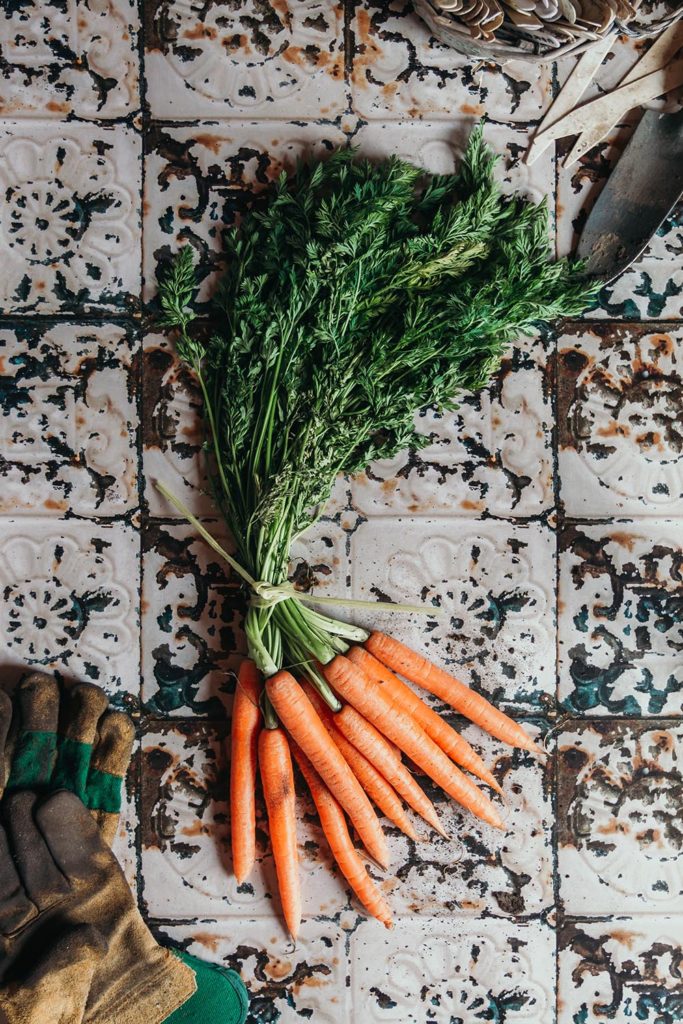
My backdrops are all vinyl 60x90 cm backdrops from Capture By Lucy or Club Backdrops. I love them because they are easy to wipe clean and they roll up, making them easy to store and transport.
I also love the look of backdrops by Woodville and Errer but I just haven't had the chance to purchase any yet to try them.
My props
My props come from a variety of places. I love to use things we already have at home and I'm fortunate to have lots of beautiful items from my grandparents and parents.
I also like to browse antique shops and flea markets for cheap props, like small, detailed glassware, books and old pages, small plates and bowls etc.
Supermarkets and homeware stores will of course have modern and trendy crockery and glassware.
Independent handmade ceramic stores and potters are also great places to look for unique pieces and a lovely way of supporting local artists.
Tips for buying props
It can be tempting to buy everything you like the look of when you're starting out in food photography! But I suggest exercising restraint and only buying a couple of things at first and start off using what you have at home.
When you're ready to buy, here are some of my top tips to prevent you from buying something you'll only use once:
- choose smaller plates, bowls and glasses
- choose neutral colours to start so more of your things look good together
- choose matte crockery and cutlery rather than shiny to prevent ugly reflections
- only take 1-3 pieces of any item - you're unlikely to need that dinner set for 6!
Become a free member.
Get free tips delivered to your inbox!
Summary
To summarise, the gear you can consider investing in when you want to upgrade your food photography equipment includes:
- camera
- lenses
- tripod
- tethering
- light modifiers
- backdrops & props
I'd love to know what you're going to invest in next!

0 comments