Summer is in full swing and I don't know about you, but I'm gravitating towards shooting food and drinks with hard light, vibrant colours and creating al fresco dining scenes! But if the idea of shooting outdoors under the sun fills you with fear, then this post is for you! Read on to discover the secret to shooting food photography outdoors with confidence!

Why shoot outdoors?
Most food photography is done in a dedicated studio space where the light (whether natural or artificial) can be controlled and the conditions are more or less stable.
Shooting food photography outdoors can be pretty daunting when you're used to being the one calling all the shots in terms of light, and why would you want to make life difficult for yourself?
In my opinion, creating some scenes outdoors is a really great way of growing your skills as a photographer.
You'll become much more confident in working with unpredictable light conditions and be able to respond to changes quickly by adjusting your camera settings as needed.
It's also a great opportunity to style larger scenes and narratives that might otherwise be tricky to capture on a smaller, more confined surface or space.
Lastly, shooting food outdoors is a clever way of expanding your photography portfolio. Showing that you can craft seasonal content is very appealing to prospective clients who are looking for someone to shoot their seasonal campaign. For example, many brands love to show how their product is perfect for sharing with friends at a summer BBQ or how it can be taken to the beach and enjoyed with family.
Get the free ebook!
Want more tips for shooting food outdoors? This free ebook has 20+ pages packed with practical tips that will make creating scroll-stopping images outdoors a walk in the park!


The secret to shooting food outdoors...
Is understanding how to work with natural light!
I know that's easier said than done, so I've broken this down into three parts so you can tackle this step by step!
Colour temperature
When you take photos with natural light, it's important to know that light has a natural colour tint that we can't really see with the naked eye. This colour tint also changes throughout the day and is called colour temperature.
You'll probably have noticed that light looks and feels different at different times of day. For example, at sunrise and sunset the light is very yellow and warm - it's often referred to as the Golden Hour for this reason.
White balance
When you take a photo, the camera picks up the light's colour tint and you might see that the image looks very orange/yellow or very blue depending on when you're taking the photo and which mode you have set the white balance to.
If you're fairly new to photography, I recommend selecting the Auto mode for white balance. This means that the camera will automatically try to adjust the colours in the image to make it look as natural as possible, and you won't have to worry as much about fixing blues or yellows when editing.
Choose a time of day to shoot
The next best thing you can do to ensure you're getting the right white balance and colour temperature for your photo and story, is to intentionally shoot at the time of day for your narrative.
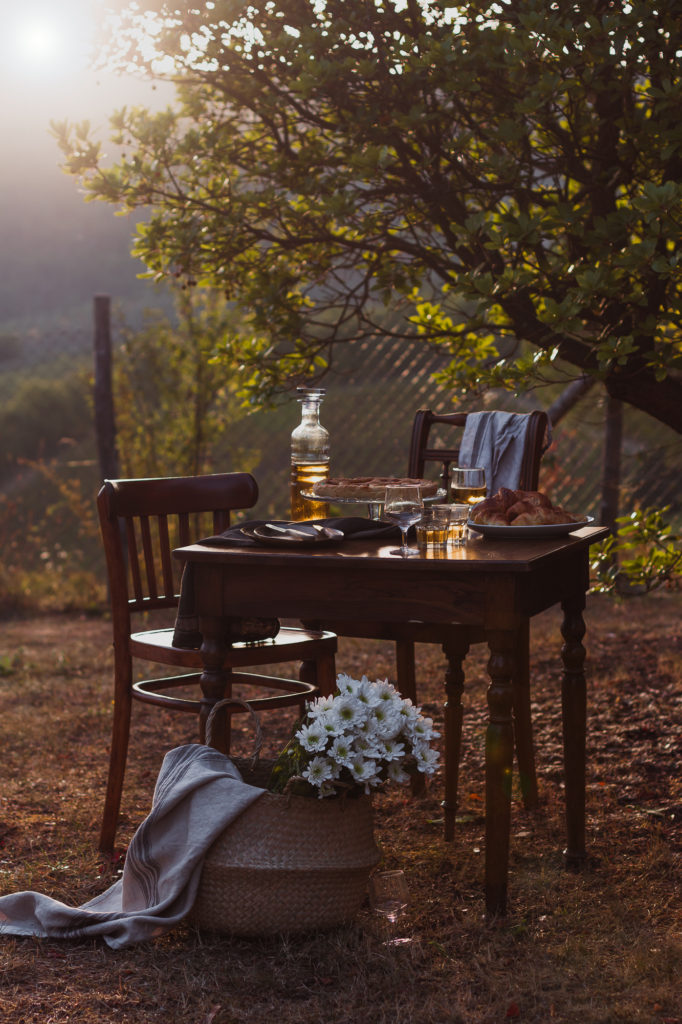
If you're shooting a sunrise breakfast scene, get up early and shoot with the sunrise to get that beautiful golden morning light.
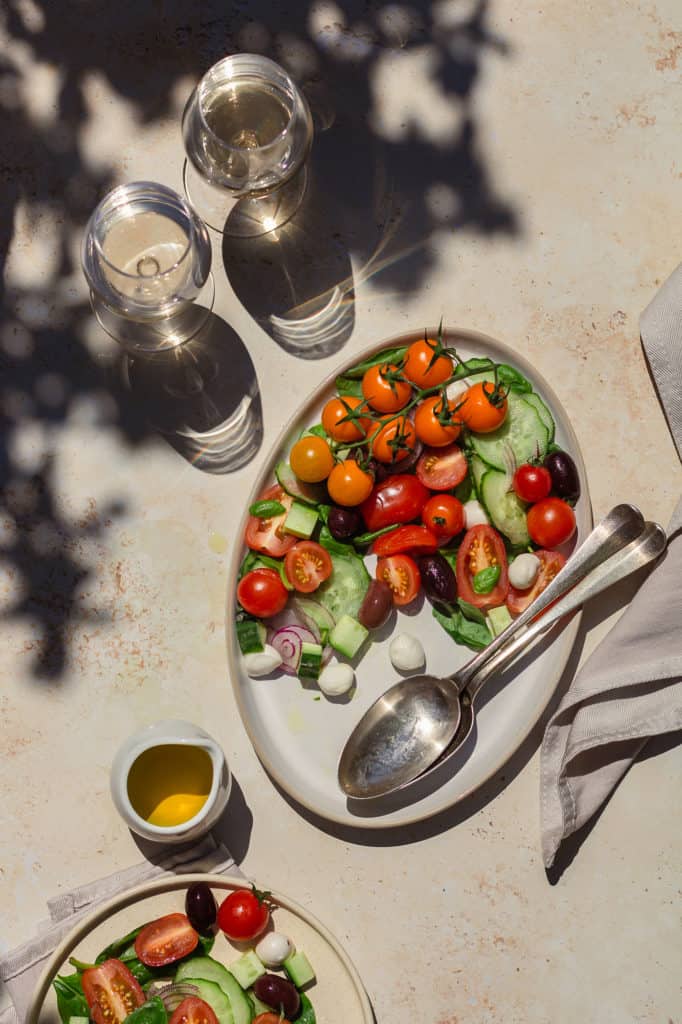
If you're shooting a refreshing summer salad, shoot around midday to get cooler blue tones to match the vibe.
When you start being conscious of light and how it behaves, it becomes much easier to work with!


Hard light
When the sun is directly hitting your surface and subject, this is known as hard light. It creates vibrant images with high contrast and defined shadows, making it ideal for fresh summery and tropical feeling images.
Length of shadows
Just like with colour temperature, shadows change throughout the day.
Early in the morning and later in the afternoon/evening, shadows are much longer and stretch away from objects. On the other hand, at midday when the sun is high in the sky, shadows are much shorter and stay close to their source objects.
With this in mind, it's important to think about your image and what is happening, so you tell the right story. Are you shooting a cheeky Sunday afternoon cocktail or a romantic early-evening aperitif? How will the length of your shadows change the narrative if you don't consider them in your shoot plan?
Adding interest with shadows
A great way to work with shadows is to incorporate them into your images to add interest.
I love to create some negative space in the frame and then fill some for it with shadows being cast by plants and foliage. Without needing any fancy props, it tells the story and add a unique pattern that will catch your viewer's eye!

Soft light
It's very common for food photographers to shoot with soft light indoors - almost everything glows and looks beautiful with soft light!
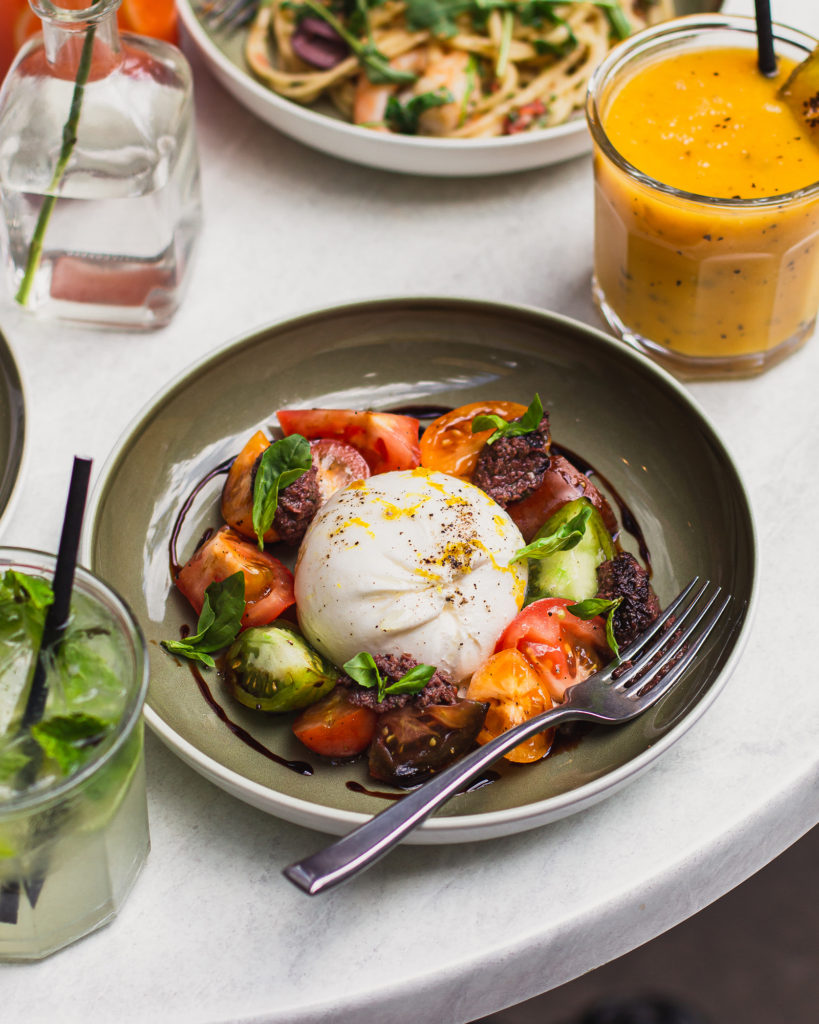
On cloudy days, the sunlight is naturally diffused and provides beautiful soft light that you can work with.
However you might find that it's difficult to create depth and dimension to your images when shooting on days like this.
This happens because when shooting food photography outdoors, the light is coming from all around you rather than from one direction when you're in the studio.
In order to get around this, you will need to bounce the light off other objects to "fill" the shadows and make them darker to add some more contrast.
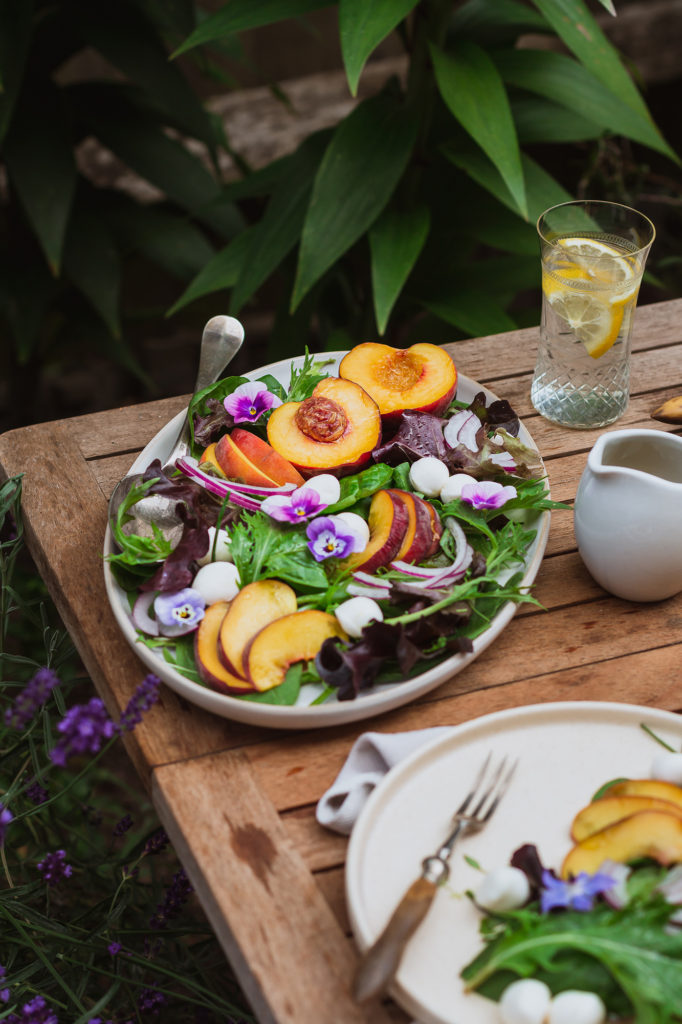
Shooting next to walls and fences or wedging your scene in between shrubs and bushes will create objects for the light to bounce off and add this missing depth to your scene. You can also use bounce boards as you would in the studio to create negative fill.


FREE E-BOOK: 20+ PAGES OF TIPS TO HELP YOU SHOOT FOOD OUTDOORS WITH CONFIDENCE
GET IT NOW!
I hope you enjoyed this blog post and feel empowered to go and create some summery, outdoors food photos! Leave a comment and tell me your biggest takeaway from this post and I can't wait to see you put these tips into action!


0 comments